Sealing a shower pan is one of the most critical steps in ensuring your shower remains waterproof, preventing leaks, and maintaining the overall integrity of your bathroom. Whether you’re refreshing your bathroom or undergoing a full bathroom remodel, knowing how to properly seal a shower pan will save you from water damage, mold, and costly repairs down the line.
In this detailed guide, we’ll walk you through the entire process of sealing a shower pan—from removing old sealant to applying new silicone sealant, while sharing tips to help you achieve professional-level results.
Why Sealing a Shower Pan Is Important
A properly sealed shower pan ensures that water stays within the shower area, preventing leaks that can damage subflooring and walls. Over time, even minor leaks can lead to mold growth, warping, and structural damage, which can turn a simple repair into an expensive project. This makes sealing your shower pan an essential step in both new installations and maintenance during a bathroom remodel.
Preparing to Seal a Shower Pan
Before you start sealing the shower pan, preparation is key to ensuring the new sealant adheres properly and creates a watertight bond. Skipping this step can result in an uneven seal and future leaks, so take your time to prepare the area correctly.
1. Removing Old Sealant
To achieve the best results, you’ll need to remove the old sealant completely. Here’s how:
- Tools Needed: Sharp utility knife or sealant remover tool, gloves, and safety goggles.
- Step-by-Step:
- Carefully slice away the old sealant with a utility knife. Be cautious not to scratch or damage the shower pan or surrounding tiles.
- For any remaining strands or stubborn sealant, use your finger or a clean rag soaked in mineral spirits or rubbing alcohol to dissolve and remove them.
- Ensure the area is completely free of old sealant to create a smooth surface for the new silicone.
2. Cleaning the Shower Pan and Surrounding Tiles
Once the old sealant is removed, it’s crucial to clean the area thoroughly:
- Step-by-Step:
- Vacuum away any dust, dirt, or debris from the shower pan and tiles.
- Use a damp cloth soaked in warm water and mild detergent to clean the surface.
- Rinse the area with clean water to remove any detergent residue and wipe dry with a towel.
- Ensure that the entire area is completely dry before applying new sealant—this prevents moisture from weakening the adhesive bond.
How to Seal a Shower Pan the Right Way
Now that your shower pan and surrounding surfaces are prepped, it’s time to apply the new sealant. High-quality silicone sealant specifically designed for bathroom use is recommended, as it provides strong adhesion and includes anti-fungal properties to prevent mold growth.
Tools and Materials Needed
- High-quality silicone sealant (bathroom-safe and anti-fungal)
- Caulking gun for even sealant application
- Smoothing tool or a plastic spoon
- Masking tape (optional, for clean edges)
- Paper towels or rags
Step 1: Choose the Right Silicone Sealant
Choosing the right sealant is important, especially if your shower features natural stone tiles. Make sure the silicone sealant is compatible with the type of tiles you have in your walk-in shower or shower pan, and it’s designed to withstand moisture and high humidity levels.
Step 2: Apply Masking Tape for Clean Lines (Optional)
For those who want perfectly clean edges, apply masking tape on both sides of the area where you’ll be sealing. This will help guide the silicone and prevent it from spreading too far onto tiles or the shower pan.
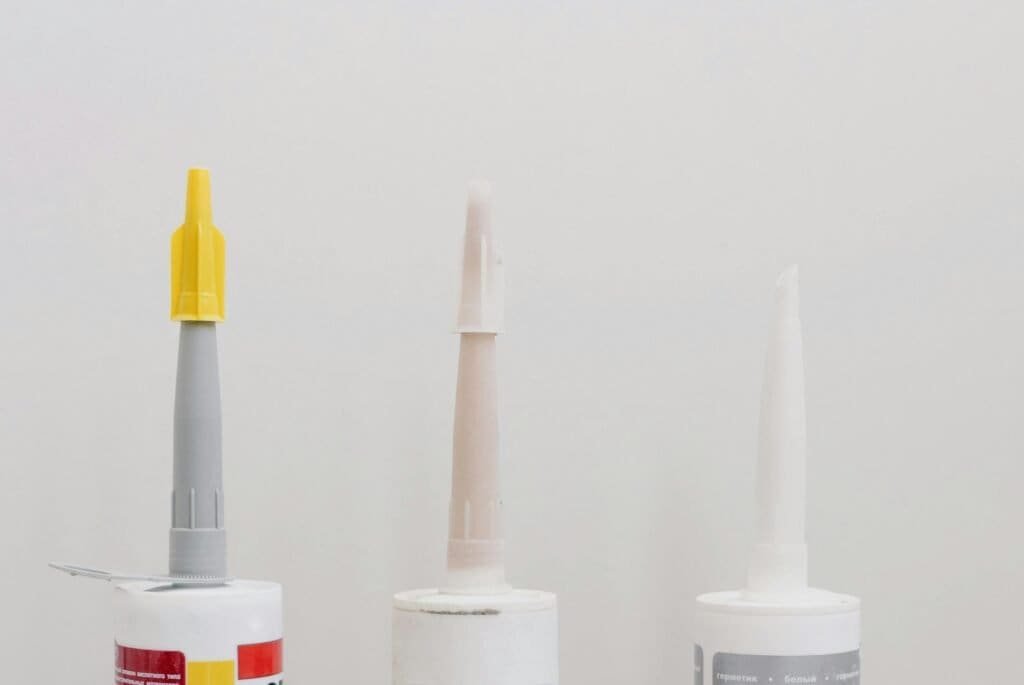
Step 3: Prepare the Sealant Tube
Cut the tip of the sealant tube at a 45-degree angle, creating an opening that is about 5mm wide. Insert the tube into the caulking gun and squeeze the trigger a few times to ensure the silicone is ready to flow smoothly.
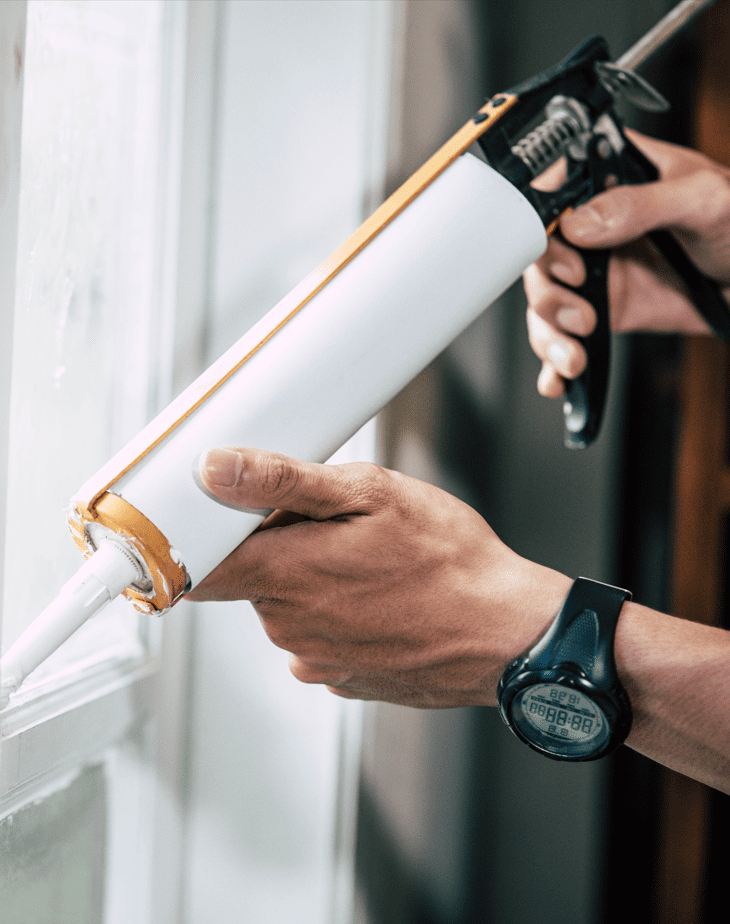
Step 4: Apply the Silicone Sealant
- Start in one corner of the shower pan, and slowly apply an even bead of silicone along the joint where the pan meets the tiles.
- Apply steady pressure to the caulking gun to maintain a consistent bead size.
- Work your way along the entire perimeter of the shower pan in one continuous motion. Avoid stopping and starting, as this can result in uneven application or gaps.
Step 5: Smooth the Sealant
After you’ve applied the silicone, use a smoothing tool or a plastic spoon to gently smooth out the bead. This ensures the silicone fills any small gaps between the shower pan and tiles, creating a watertight seal.
- Tip: Wipe off excess silicone with a paper towel or rag as you smooth to prevent clumping.
Step 6: Remove Masking Tape (If Used)
If you applied masking tape earlier, carefully peel it away while the silicone is still wet. This will leave you with clean, straight edges.
Post-Sealing Care: Ensuring a Watertight Seal
Once you’ve applied and smoothed the silicone, it’s important to let it cure fully before using the shower. This can take anywhere from 24 to 48 hours, depending on the brand of sealant you used.
Drying Time and Final Check
- Allow the silicone to dry for at least 24 hours before exposing it to water. Check the manufacturer’s instructions for the exact drying time.
- After the drying period, inspect the silicone bead for any gaps or cracks. If you notice any areas where the silicone hasn’t adhered correctly, apply another thin layer and allow it to dry again.
Common Mistakes to Avoid When Sealing a Shower Pan
Even though sealing a shower pan is a straightforward process, there are a few common mistakes that can result in poor adhesion or an uneven seal. Here’s what to watch out for:
1. Skipping the Cleaning Step
Neglecting to thoroughly clean the shower pan and surrounding tiles can result in a weak seal. Dust, debris, and moisture can prevent the silicone from bonding properly.
2. Using the Wrong Type of Sealant
It’s crucial to use a silicone sealant that is designed specifically for bathroom use. Standard sealants may not contain anti-fungal additives, leading to mold growth over time, especially in high-moisture areas like a walk-in shower.
3. Not Allowing Enough Drying Time
Patience is key. Using the shower before the silicone has fully cured can cause the sealant to lift or shift, compromising its waterproofing abilities.
When to Reseal Your Shower Pan
Even the best sealant will wear down over time. It’s recommended to check your shower pan seals every six months for cracks, mold, or areas where the silicone has pulled away from the surface. If you spot any damage, it’s best to reseal the shower pan immediately to avoid water leaks and potential damage to your subfloor or bathroom tiles.
For those undergoing a bathroom remodel, replacing old, worn-out seals is a crucial step in keeping your bathroom leak-free and maintaining the longevity of your walk-in shower.
Conclusion: A Well-Sealed Shower Pan for a Watertight Bathroom
Sealing a shower pan is a relatively simple task, but it requires precision and patience to ensure long-lasting results. Whether you’re doing maintenance or tackling a bathroom remodel, following these steps will ensure a professional-quality seal that protects your bathroom from water damage and leaks.
With proper preparation, the right tools, and attention to detail, you can create a watertight seal around your shower pan that keeps your bathroom in top condition for years to come.
FAQ Section
1. How often should I reseal my shower pan?
It’s recommended to reseal your shower pan every 1-2 years or whenever you notice cracks, gaps, or mold forming in the silicone.
2. Can I seal the shower pan myself during a bathroom remodel?
Yes, sealing a shower pan is a DIY-friendly task that can be done with the right tools and materials. Make sure to follow proper preparation and application steps for the best results.
3. What kind of silicone sealant should I use for a walk-in shower?
Look for silicone sealant that is designed specifically for bathrooms, which includes anti-fungal additives to prevent mold and mildew growth.
4. How long should I wait before using the shower after sealing?
Allow the silicone to dry for at least 24 hours, but some brands may require up to 48 hours for a full cure. Check the manufacturer’s instructions for the specific drying time.
Disclaimer: As an Amazon Associate, I earn from qualifying purchases. This means that if you click on certain links on this site and make a purchase, I may receive a small commission at no additional cost to you.